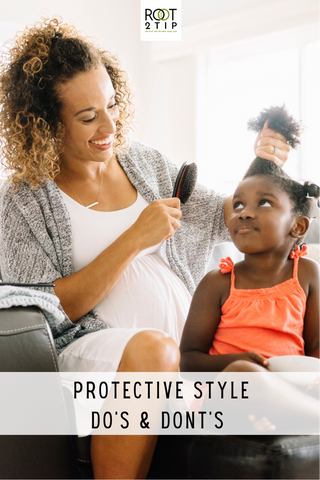
Having a consistent hair regimen for your little one is important in order to maintain a healthy head of hair. However, going through the weekly detangle, wash and style process can be a challenge. Protective styling is therefore a great way to minimise manipulation and give your child’s hair a break. Here are some tips, that will help you implement protective styles for kids, the right way.

1. Effective prep for protective styles for kids
Preparing your little one's hair is key in making protective styling effective. You want to make sure that the hair is moisturised and has elasticity. Prepare the hair by deep conditioning and oiling the scalp. Our Curly Kids Cowash and Starshine Hair & Scalp Growth Oil for Kids are the perfect combo for achieving just that.
Make sure your child’s hair is thoroughly detangled. This will make styling easier and prevent breakage when it is time to take the style down.
2. The right tools
At Root2tip we love using our fingers as tools. Running your fingers through the hair will help you find knots and tangles and gently loosen them. You can also use wide tooth combs and gently comb from the tip up to the root. Using a comb after finger detangling prevents unnecessary breakage.
If the hairstyle requires hair bands, choose the ones without the metal fold. When using elastics, you can drench them in oil before installing them to make the take down super easy.
3. The right style for protective styles for kids
Choosing the right style is one of the most important steps, as you want to take into consideration your little one’s hair length, texture, and overall state. Avoid hairstyles that are too tight to prevent tension on the scalp.
If you are using elastics and hair bands, do not tie them too tightly at the base. If the hairstyle includes cornrows, try and braid firmly but not too tightly as well.
It can be fun for your little one to choose the style with you and help pick out the accessories.
4. Maintenance for protective styles for kids
The advantage of a protective style is that once it is installed, you do not need to manipulate the hair for a couple of weeks.
However, you still want to take care of the hair even when it is in a protective style. Remember to moisturise and seal every couple of days.
Spritzing our Honey Rain Juice on the hair while in braids or twists, is a great way to continue moisturising without having to directly manipulate the hair.
Try and leave the protective style in for no longer than 3 – 4 weeks to prevent matting, especially in the nape area.
5. The takedown
The takedown of your child’s protective style can be a crucial moment. The hair can find itself on the dryer side in some particular areas, so try and be very gentle when undoing the style.
Do not hesitate to use a spray bottle with a water and conditioner mix, it will give you the needed slip and is a great way to prevent breakage.
All in all, protective styling is a great way to share a beautiful moment with your child and teach him or her how to appreciate their natural hair texture.
This can be an opportunity to find out together what suits your child best and what styles you can try out next. We hope this list of do's and don'ts for protective styles for kids help with guiding you on choosing the right hairstyles for your child.

